
A question I frequently get from customers is whether the e-commerce emails frequency and conditions can be changed.
Let's take a look at what we are dealing with:
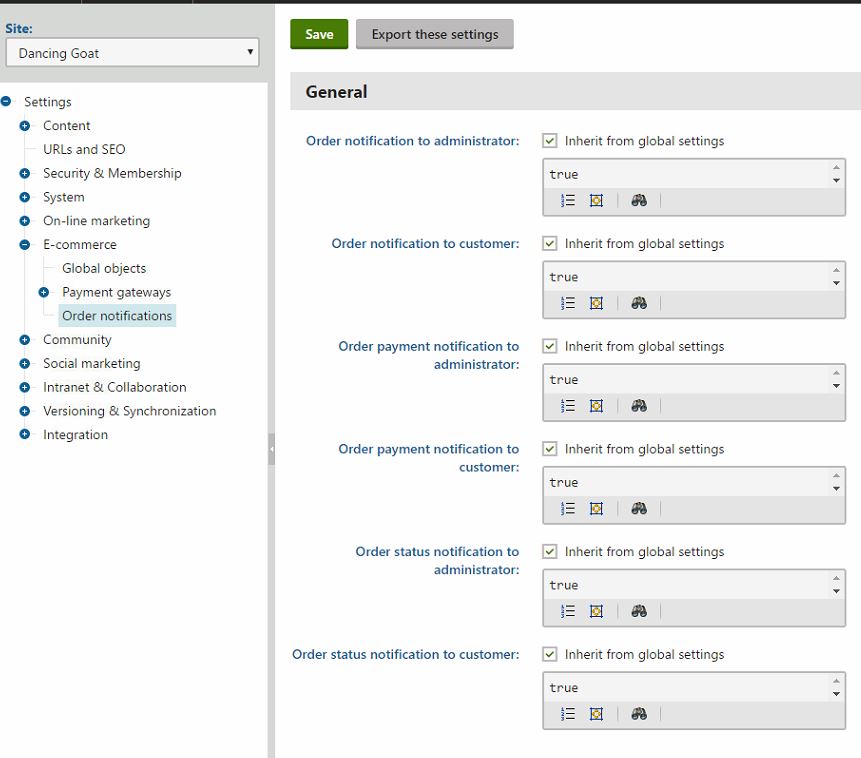
| Event | Condition | Notification recipient |
|---|---|---|
| New order created | 'Send order notification' ticked in Store/Multistore configuration | Admin and customer |
| Payment of an order | 'Send payment notification' ticked in Store/Multistore configuration | Admin and customer |
| Changing the order status of an order | 'Send notification' ticked in Store/Multistore configuration | Admin and customer |
I'll start by saying that the settings can be a bit too confusing to memorise, so I do find myself checking the Kentico Documentation every now and then.
Why are we getting so many order emails, even for orders that have not been paid for?
Well, this one is easy to fix. Just untick the 'Send order notification' setting.
Our customers keep getting an email each time we change the status of an order
Another easy fix - untick the 'Send notification' setting.
We want the 'order status change' emails to be sent to admin, but not the customer
We want the 'new order created' email sent out only if the customer is paying by direct debit
At this point, we seem to be in trouble.
To solve the above issues, I have created a module that can help with controlling the e-commerce emails.
Instead of using the built-in settings for toggling emails on or off, the module exposes a set of macro fields for determining the condition of order emails.
This gives you the flexibility to write a specific condition that must be met for a particular notification email to be sent.
The macro methods and objects used in the e-commerce notification emails can also be used in the condition fields. *
OrderOrderStatusBillingAddressShippingAddressCompanyAddressShippingOptionPaymentOptionCurrencyCustomerDiscountCouponShoppingCartContentTableContentTaxesTableShippingTaxesTableEproductsTable* This list was obtained from Kentico v7, and may differ in Kentico v8 and later versions. Please test your macro condition to ensure correct behaviour.
A good way to explain the usage of the module is a real life example: sending out the 'new order' notification email only for orders paid by cash. This could mean that the 'new order' notification email could contain bank details or payment instructions. It would not make much sense to send these out for orders paid by credit card.
Here's how to set this up:
PaymentOption.PaymentOptionName == "Cash"
You can then proceed with tweaking your order notification email templates.
The Kentico Marketplace, of course! It's free - get it here
I am personally not a fan of the NuGet way of installing modules. A lot of Kentico users either do not have Visual Studio on their computer, or they are not familiar with how to use it.
My approach was to make this a self-installing module. This means that the module will install itself once the files are copied to your website folder.
The installation steps are:
CMS/bin folder of your website. Careful when deploying to live sites. Your website will slow down for a few minutes, while it recompiles.CMS/web.config file, under the <appSettings> element: <add key="WDM.ConditionalOrderEmailsProvider.Init" value="true" />To disable the module, simply remove the WDM.ConditionalOrderEmailsProvider.Init key from the appSettings section of the web.config file (see the installation instructions, for the exact line).
You could also delete the DLL file from the CMS/bin folder, however this will recompile your site, so be careful when doing this on a live website.
I'm glad you asked! To keep this post neat and tidy, I will explain the inner workings in a future post. Stay tuned!